Today is a special guest blog, this is because it is a crafty blog post! I am not one for being too crafty but I have been inspired by so many other blogs that I may give it a go sometime. Until then, Kassi is sharing her personalised gift bags which she gave to the flower girls at her wedding. I love this idea and I think it's definitely a well timed post as I know quite a few of my readers are in the process of organising their wedding.
Be inspired!
_____________________________________________________________________________
Hello lovelies!!!
I am SO excited today to share a post with you while Miss Missy is off on her vacay/trip/adventures... :)
My name is Kassi and I blog at a little place called Truly Lovely!
That's me!
That's my blog!
And today I'd like to share a crafty little project I did recently for the flower girls in my wedding...
Cute Little Personalized Totes!
The items needed for this kid friendly craft are:
Little totes (I got mine at Hobby Lobby $2.99 for a packet of four)
Fabric Paint
Small paint brush
Name stencil
Iron on decals
Iron
Old newspaper
Large paper plate
First, be sure to lay newspaper down on your table or other work surface!
Lay out your totes on the newspaper.
I used my hand dandy Silhouette SD to cut out the girls' names in vinyl.
The Kristen font is a great one for a girlie but fun touch!
If your making a toy bag for a boy, Bradley is a more "manly" font for your little man!
Crafting FYI: Vinyl, makes a PERFECT stencil!
It's already sticky on the back, so peel away the backing, smooth your stencil over your little tote and your ready to paint.
Make sure if you have any a's, o's, or other letters with holes in the middle, that you peel the little circle cutouts and stick those in the center of your letters as well. More on this in a minute.
Next, choose your paint color, then squirt some fabric paint onto the large paper plate.
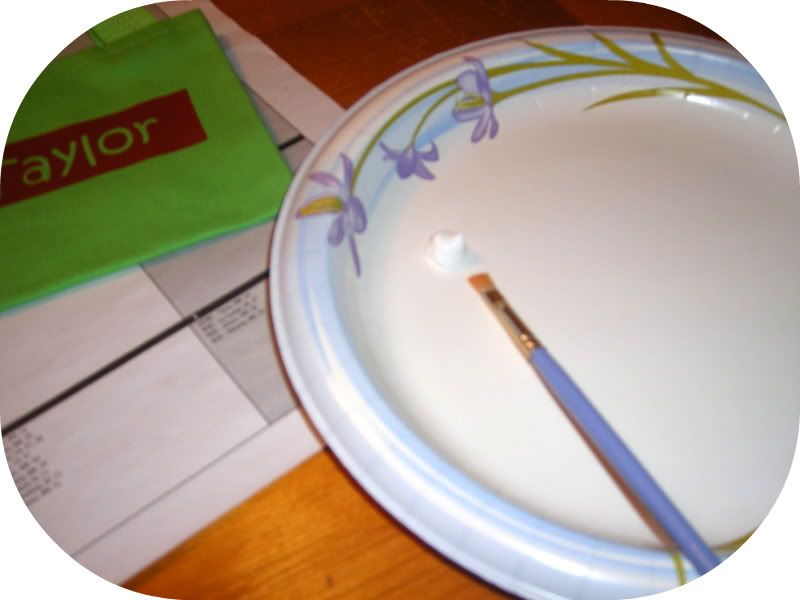
Now, use the small paint brush to fill in the stencil on your tote.
Since I used white paint on dark colored totes, I painted on several coats, allowing for some drying time in between.
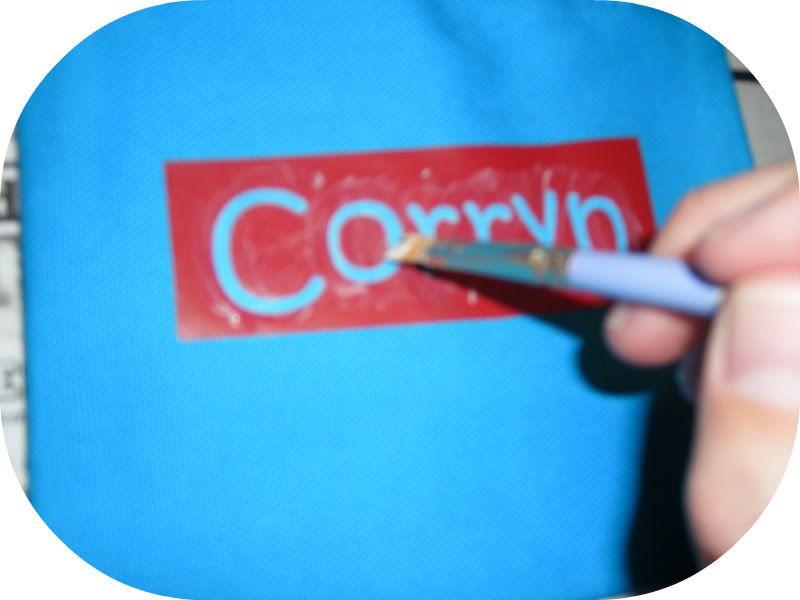
Once you've painted all of the names, allow to dry for a few hours so the paint will set well.
Then carefully peel the stencil off the tote.
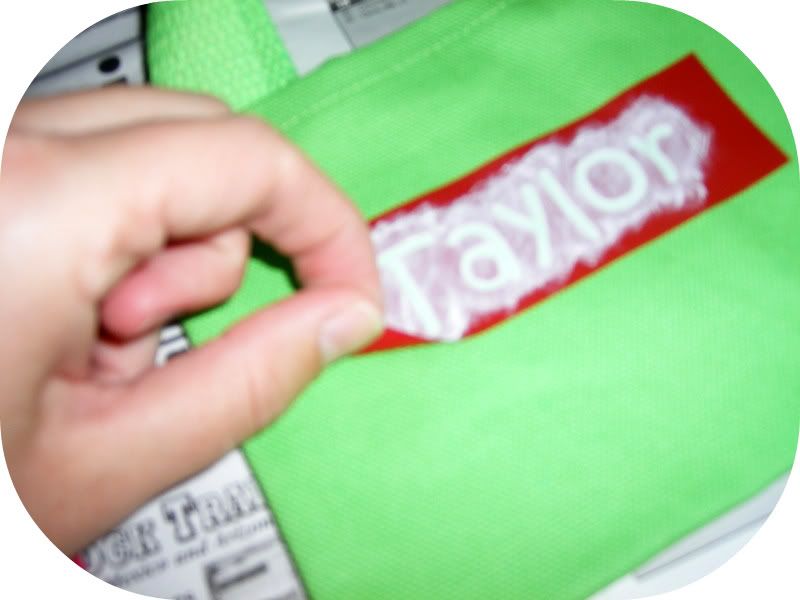
Remember I mentioned earlier making sure you stuck the centers of your a's, o's and other letters with holes onto your tote? Well, here's why...
If you stick those on, you can paint right over the top of those, like here on Taylor's tote:
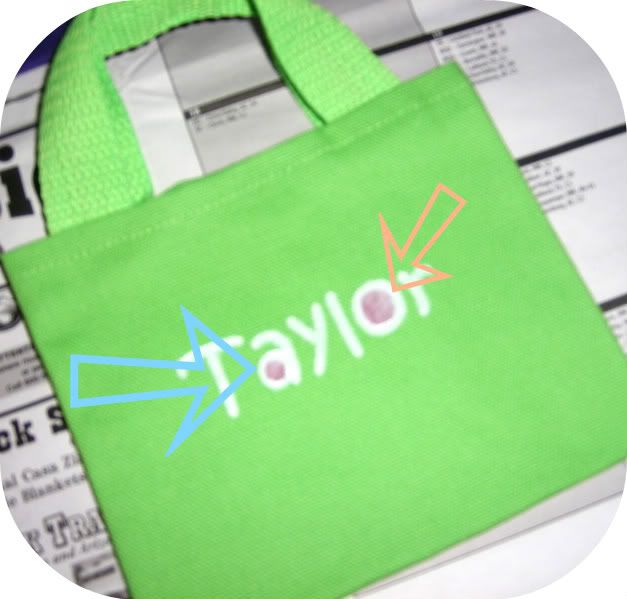
Then when you peel them off, your letters have holes in the middle instead of a completely painted in blob for those letters.
And that makes them look nicer! :)
Once you've finished your painting and removed your stencils, it's time to fancy up your totes!
A SUPER easy and inexpensive way is with iron on decals.
The flower ones I used came from Wal-Mart for a few dollars a packet.
Follow the directions for ironing your decals on.
Mine included placing a cotton towel over the top, then iron to tack.
Turn the fabric inside out and iron to adhere.
Here you can see, I used a tiny little craft iron.
It was perfect for this craft because it was small enough to stick inside the tote without the need for turning it inside out!
Tada!!
A cute little personalized tote for your little lady to carry around this summer!!!
Thanks to Missy for having me over today while she was away- It was a pleasure!!!
We would be thrilled if you would pop over to Truly Lovely sometime and say hello!!
Happy crafting friends!
Thank you Kassi!